



Sharing your card
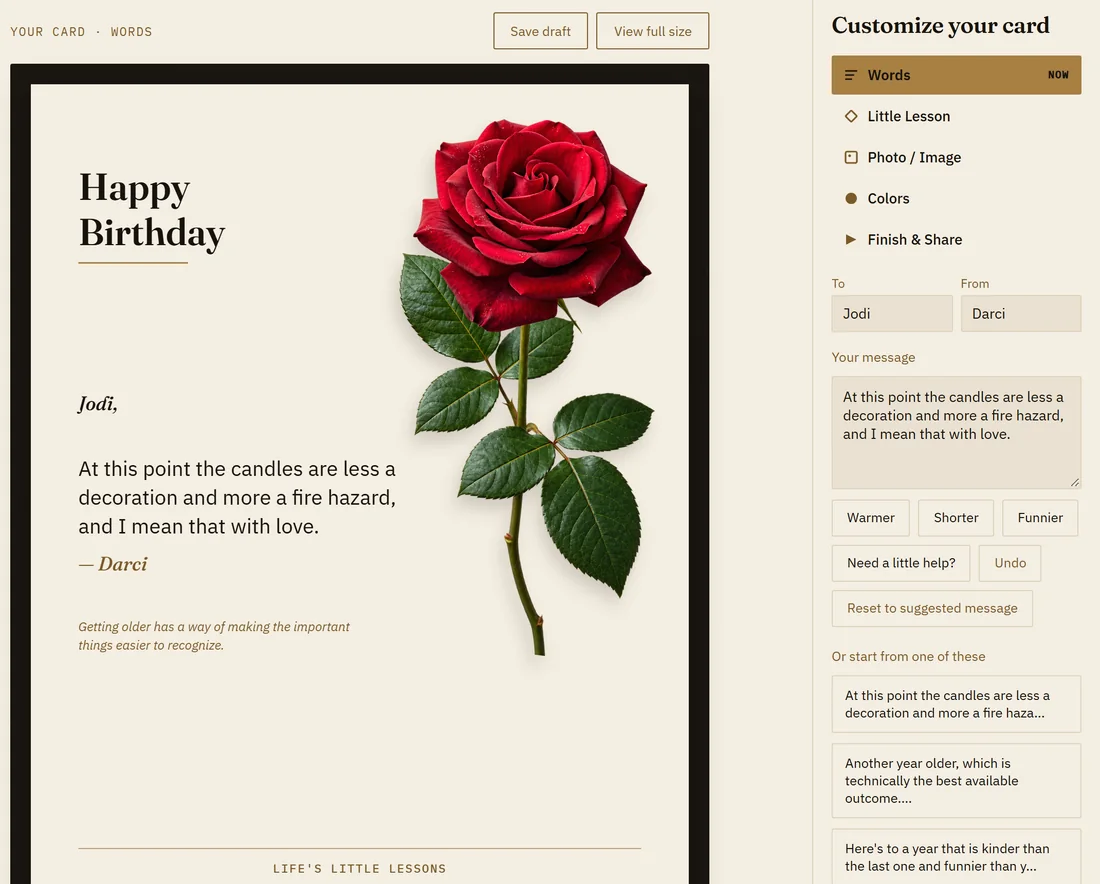
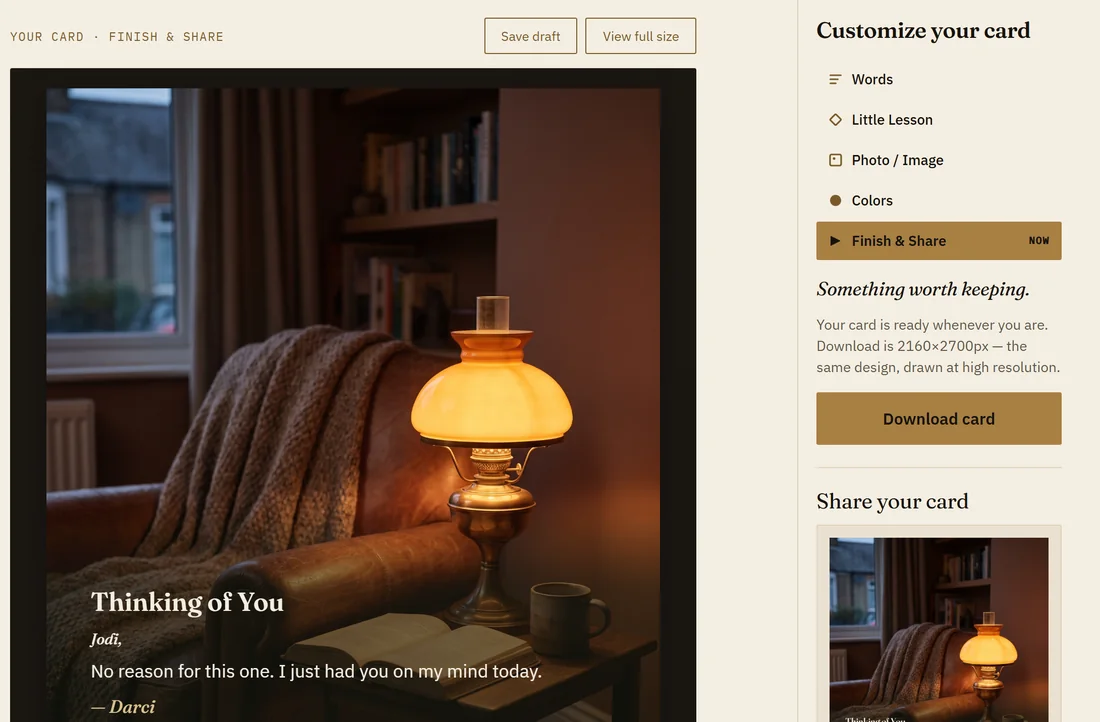
When your card is finished, open Finish & Share in the card studio. Under Download card you'll find the ways to send it on, and you don't need to download anything first.
No Life's Little Lessons account is required to share a card.
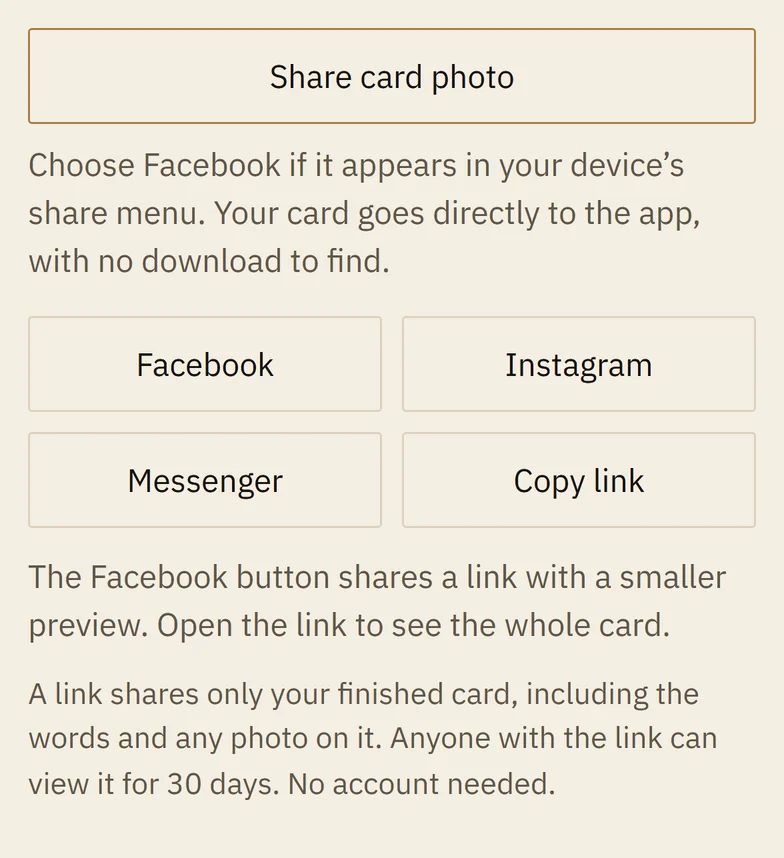
Share card photo
Opens your device's own share menu with the finished card as a picture, so you can send it to Facebook, Messages, email or whatever apps you have.
You'll see this button on most phones and some computers.
Facebook
Tap Facebook and finish the post in Facebook. On a computer, Facebook opens in a new tab with your card ready to post. On a phone, choose Facebook from the menu that appears.
The post shows a smaller preview. Anyone who taps it sees the whole card.
Instagram
On a phone, choose Instagram from the share menu, then Feed or Story. The card goes as a square, so Instagram doesn't cut any of it off. On a computer, the card is saved to your Downloads and Instagram opens, so you can make a new post and pick it.
Messenger
Send the card privately to one person or a group. On a phone, choose Messenger from the share menu. On a computer, Messenger opens with your card's link already copied: open the conversation, paste it, and send.
Copy link
Copies a link to your finished card. Paste it into a text, an email, a social post or any message, and whoever opens it sees the card.

Who can see a shared card
Facebook, Messenger and Copy link all make a link to your card. The link shows only the finished card: the words, the names and any photo on it. Your account, drafts and saved cards are never part of it.
Anyone you give the link to can open it, without signing in, for 30 days. After that it stops working. Card links aren't listed in a public gallery and aren't meant to turn up in search results, so the people who see your card are the people you send it to, and anyone they pass it along to.
Prefer to download it? Where to find your card, and how to post it yourself
Download card saves your card as an ordinary picture, like a photo you've taken. You can print it, or post and send it yourself the same way you'd share any photo.
Finding the card you downloaded
On a computer: look in your Downloads folder. When the window opens to pick a file, click Downloads in the list on the left.
On an Android phone: open your Gallery app. Your card is usually the first picture. If it isn't there, look in the folder called Downloads.
On an iPhone: it usually goes to the Files app (the blue folder), in Downloads. Facebook and Messenger choose pictures from Photos, so save it there first (steps below).
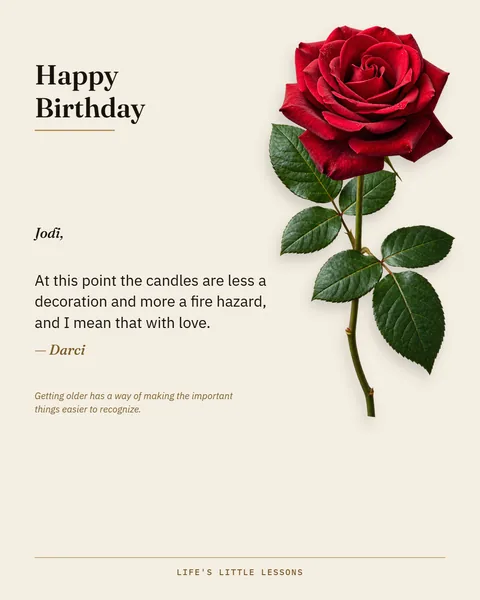
The card is usually the newest picture, and its name starts with the name of the design and the person it's for, like heirloom-jodi.png.
iPhone: saving your card to Photos
If your iPhone opened the card straight away instead, you're already looking at it: tap the Share button and choose Save Image.
Posting a downloaded card on Facebook
- Open Facebook.
- Choose Create post. (On a phone, it's the box near the top that says “What's on your mind?”)
- Choose Photo/Video. (On a phone it may just say Photo, or show a small picture icon.)
- Find and select the card you downloaded. Here's where to look:
- On a computer: A window opens so you can pick a file. Click Downloads in the list on the left side of the window, then click your card, and click Open.
- On an Android phone: Choose Gallery, then tap your card. It's usually the first picture. If you don't see it, look in the folder called Downloads.
- On an iPhone: Your card needs to be in Photos. If it isn't there yet, save it first (see “Finding the card you downloaded” above), then come back and choose it.
- Add a personal message, if you want to.
- Choose Post.
If you'd like the person to be sure to see it, type @ followed by their name in your message to tag them.
Sending a downloaded card yourself
Look for the paperclip, the picture icon or the word “Attach”, then choose the card you downloaded.
Messenger: open your conversation with them, tap the picture icon, choose the card, and send.
Email: write a new email, choose Attach (often a paperclip), pick the card, and send.
Text message: open your messages with them, tap the picture or plus icon, choose the card, and send.
You can also print your card and give it by hand. Print card, just under Download card, sends it to your own printer. For a photo counter, take the picture you downloaded. Some things are still best delivered in person.